
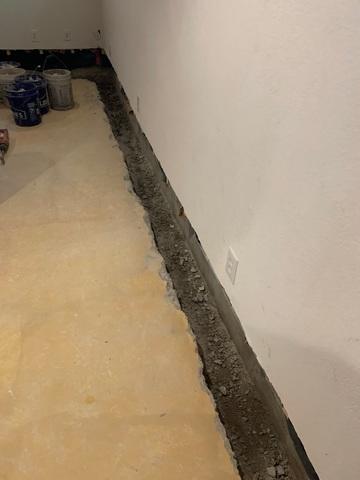
Before
This photo shows the crew preparing the area for the Waterguard. This system sits just above the footer of the home
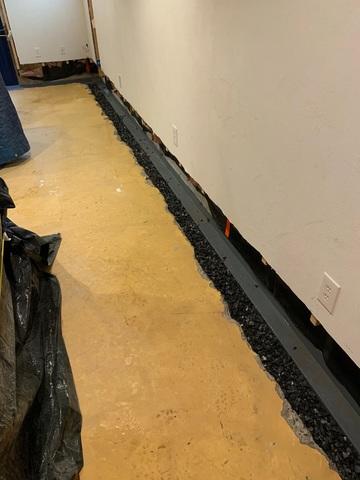
Installation
In this photo you can see the crew cut the system and installed it for the best fit. Then they filled in with drainage stone.
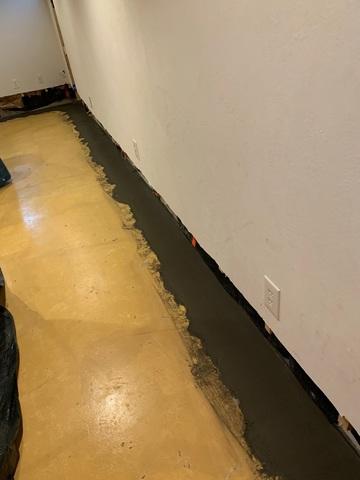
Complete
This photo shows the final result. The crew covered the system with fresh cement for a clean flush finish
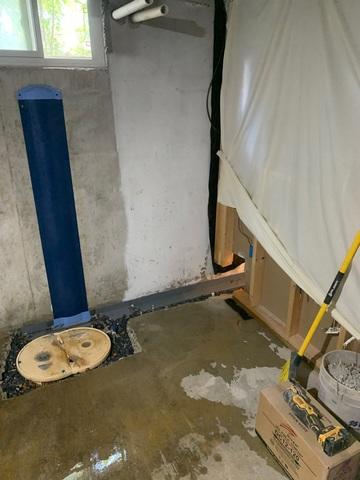
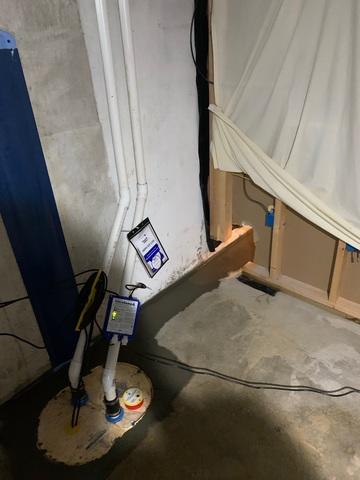
Sump pump
This photo shows after the crew installed the Sump pump
Final
In this photo you can see the crew installed the sump pump and also attached the discharge line for the sump to pump the water out.