
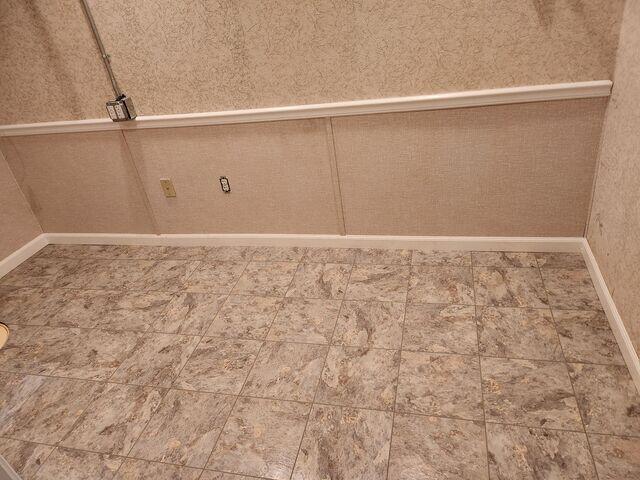
Everlast Wall Panels & Thermal Dry Floor Tile
These lower wall panels, called 'Everlast Wall Panels', cover where the wall was cut to install WaterGuard. They are installed as a finishing touch to make any basement beautiful. The Thermal Dry Floor Tiles are waterproof and durable!
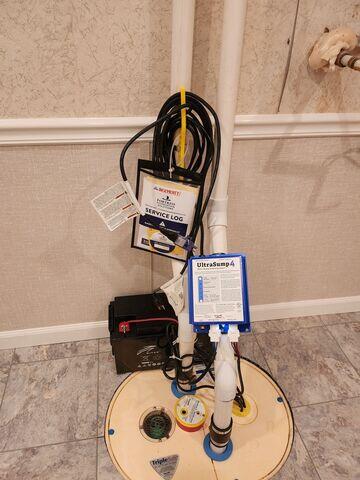
Triple Safe Sump Pump
This is our most powerful sump pump. It has two pumps ready to go in heavy rain, while the third pump is attached to an ever-charging battery. If the power goes off, this battery will turn on running the sump.
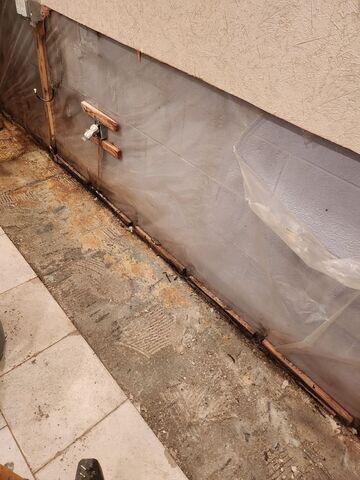
Floor Prep for WaterGuard Installation
A trench will soon be jack hammered in this floor to lay the stone and WaterGuard system.

WaterGuard & Stone
The WaterGuard piping is put into the trench and connected so any water entering flows to the sump pump and out of the home!
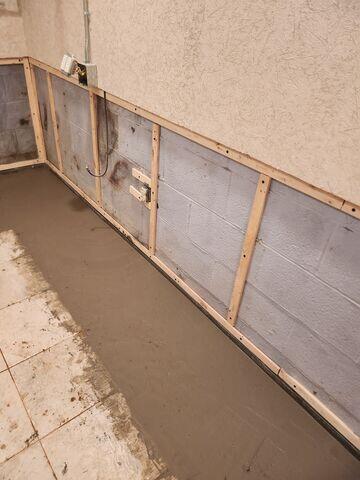
Concrete over the trench
Once the WaterGuard is set, concrete is laid over top closing off the trench.