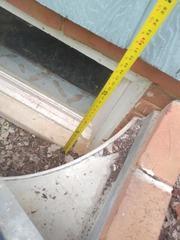
Exterior Window Well
Measurement of window well during initial visit to home
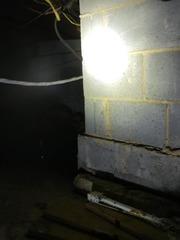
Inspection of crawl space
Crawl Space with block wall
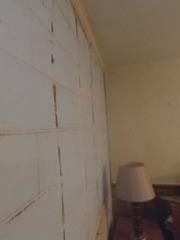
Basement with cracked block walls
Interior inspection of basement with block walls
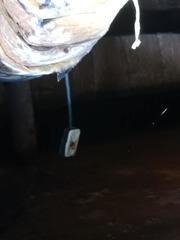
Inspection of crawl space
electrical outlet and old insulation falling
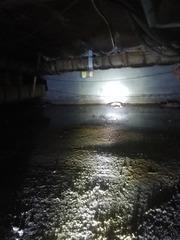
Inpsection of crawl space
standing water visible along block foundation
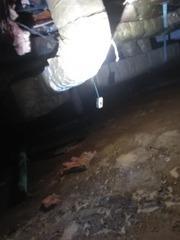
Inspection of crawl space
Corner of crawl space with insulation and electrical outlet
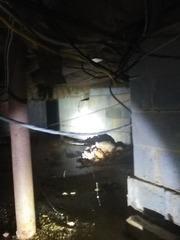
Crawl Space Inspection
Further inspection led to discovery of more standing water and larger pieces of insulation that have fallen
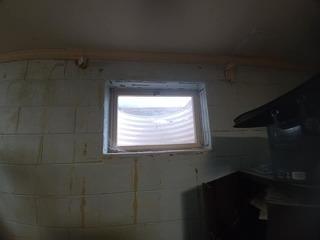
Cracks and previous water damage visible
Interior window with block wall
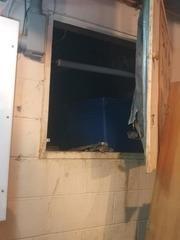
Small interior entrance to Fincastle crawl space.
Opening to crawl space
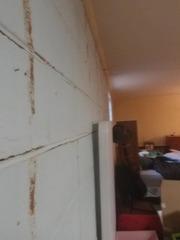
Visible Cracks in Block Wall
The cracks along the front basement wall are visible and past water damage is present.
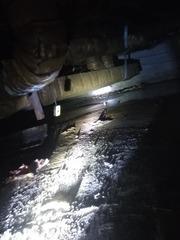
Crawl Space inspection
Mud and moisture
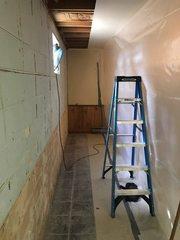
Prep work prior to installation
The crew partitioned the work area from the rest of the basement with sheet plastic to prevent dust and debris from entering other areas of the house.
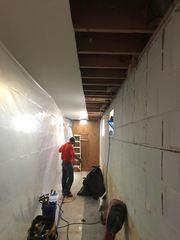
Prep work prior to installation
The crew partitioned the work area from the rest of the basement with sheet plastic to prevent dust and debris from entering other areas of the house.
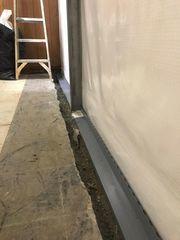
Waterguard Installed
The front of the basement floor was jack hammered and Waterguard installed. CleanSpace Wall used on front wall to keep moisture out. Power braces were used to stabilize the wall.
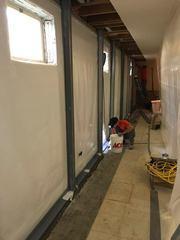
Windows and flooring nearing completion
With the Waterguard installed and the window openings cut and sealed around the perimeter of the ClenaSpace Wall, the crew is working to fill the floor with concrete and finish the area. In the far corner, the crew is also getting the Super Sump ready for installation.
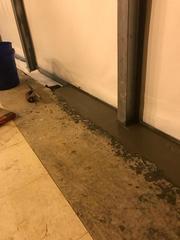
Finishing the Water Drain Installation
Concrete is poured along the jack hammered area of the floor.
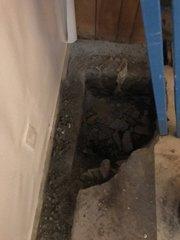
Sump pump area is being prepped for install
The Super Sump is being placed in the designated area of the basement. The discharge line will run through the crawl space and from there will discharge outside.
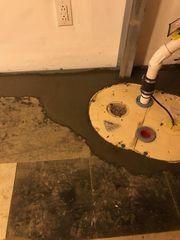
Corner of basement with sump pump
The concrete has been poured around the sump. Behind the sump pump you can see the CleanSpace Wall and the Powerbrace used for stabilization.
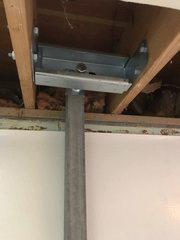
Power Brace installed
The Power brace is fully installed.
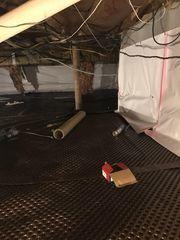
Drainage Matting
Drainage matting is placed down and Clean Space begins to be installed on the block.
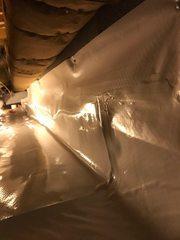
CleanSpace
CleanSpace is installed on the walls and floors of the crawl space.
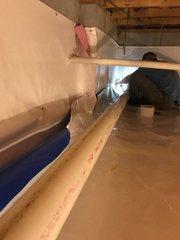
Finishing the Area
Seams are sealed and taped. The top of the CleanSpace along the block walls are fastened and caulked to the wall.
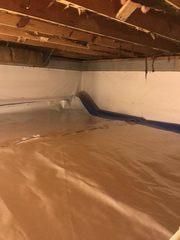
CleanSpace finished along the walls
The floor of the crawl space is being put in.
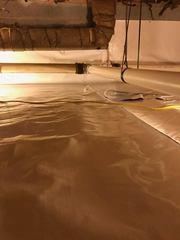
Discharge Line for sump
The discharge line from the installed Super Sump in the basement is run through the area and outside.
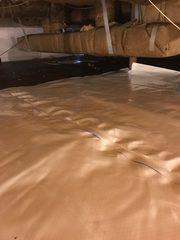
Crawlspace
The floor is being put down in all areas of the crawl space.
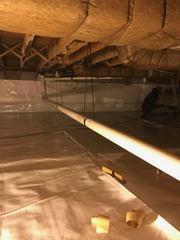
Installation of discharge line
Another view of the discharge line from the sump pump. Notice the line is secured and runs smoothly through the space allowing for thorough discharge outside.


